
mojoPortal is another popular free ASP.NET content management system and in this article we’ll show you the mojoPortal installation process on our servers.
Accordingly, we will be working on the following environment in order to successfully complete the mojoPortal installation:
- mojoPortal 2.4.1.0
- ASP.NET 4.6
- MySQL 5.6
- Windows 2012 Server
[SPECIAL OFFER]: FREE Trial ASP.NET Hosting for mojoPortal
[BENEFITS]:
- Expert ASP.NET Hosting Provider
- Support for mojoPortal CMS
- Professional mojoPortal CMS Experience
- 24/7/365 Technical Support
mojoPortal Installation Steps
Step 1: Create a MySQL Database:
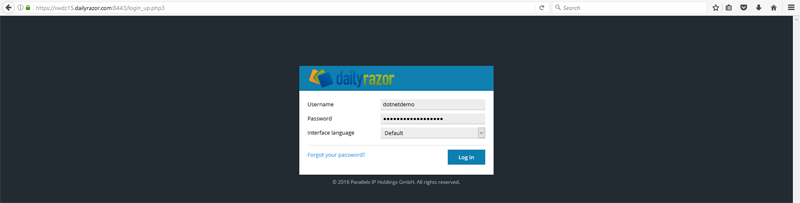
First of all, we need to create the MySQL database through the control panel. For this reason, let’s log into the control panel:
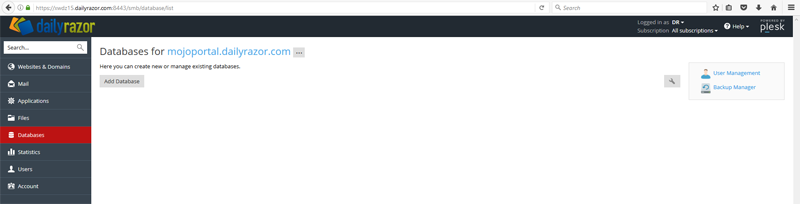
And when logged in, click on the “Databases” link on the left and then click on the “Add Database” button:
At this point, you need to enter the database details by completing the form:
- Database name: This is a required field, you’ll notice that your hosting/subscription’s username is already in there with an underscore “_” (e.g. “myusername_”) type in the name for your database after the underscore (e.g. “myusername_dnn”).
- Database server: Select the MySQL default server.
- Related site: If you have more than one hosting/subscriptions in your control panel, select the appropriate site from the drop down.
Make sure that the “Create a database user” checkbox is check.
- Database user name: Enter the name for your database user.
- New password: Enter a password for the database user.
- Confirm password: Re-enter the password for confirmation.
Next for “Access Control” make sure “Allow remote connections from any host” is checked”.
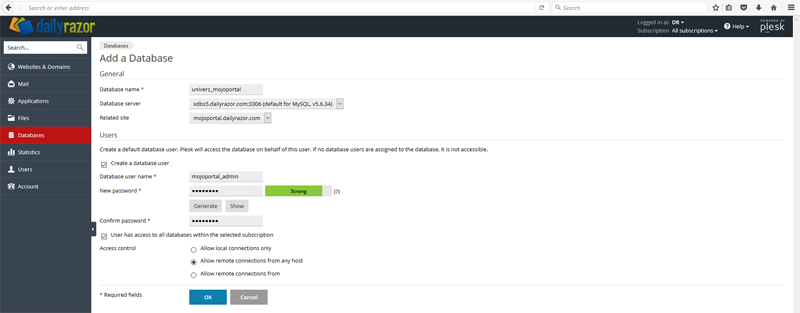
Finally, go ahead and click on the “Ok” button:
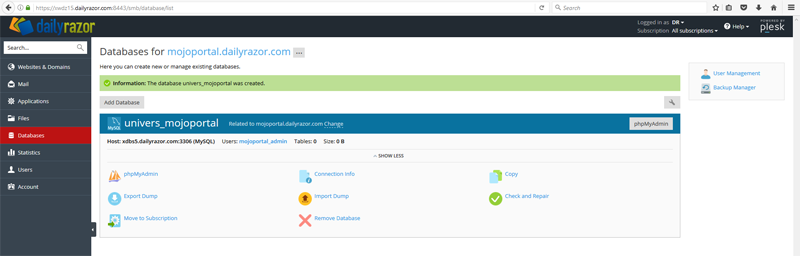
In addition, click on the “Connection Info” button/link and take note of the connection parameters. Most importantly, notice that the Host has a port number – this is important to note as you will need to specify the port number in the connection strings file.
Download Installation Files & Configure Settings
Furthermore, visit https://github.com/joeaudette/mojoportal/releases/latest and download the installation files needed then go ahead and unzip the files to your local PC.
In addition, locate the user.config.sample file (in the wwwroot folder), open it and edit the following string to reflect ones your MySQL database created in Step 1 above.
<add key="MySqlConnectionString" value="Server=localhost;Database=mojoprod;Uid=root;Pwd=Charset=utf8;" />
Most noteworthy, be sure to add the port number as shown on your database connection information – so that the file edit looks something like:
<add key="MySqlConnectionString" value="Server=localhost;Port=portnumber;Database=mojoprod;Uid=root;Pwd=password;Charset=utf8;" />
Afterward, go ahead and upload the contents of the wwwroot folder (from the unzipped file) to the httpdocs of your website using an FTP client.
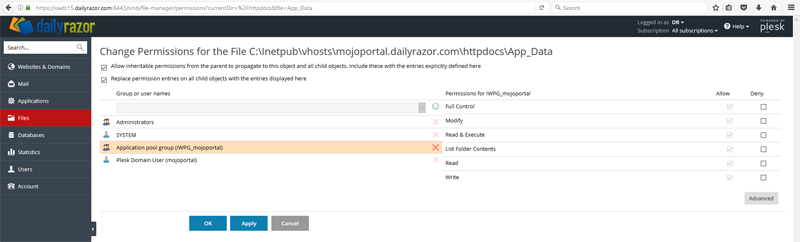
Another thing to do is to set appropriate permissions for the /App_Data and /Data folders so that they are writable. Therefore go to the “File Manager” in the control panel and click on the icon to the right of these folders and select Change Permissions:

Afterward, apply setting for Application pool group and Plesk Domain User to full control:
In conclusion, go ahead and visit http://your-site-url/Setup/Default.aspx to complete the installation!
[SPECIAL OFFER]: FREE Trial ASP.NET Hosting for mojoPortal
[BENEFITS]:
- Expert ASP.NET Hosting Provider
- Support for mojoPortal CMS
- Professional mojoPortal CMS Experience
- 24/7/365 Technical Support


